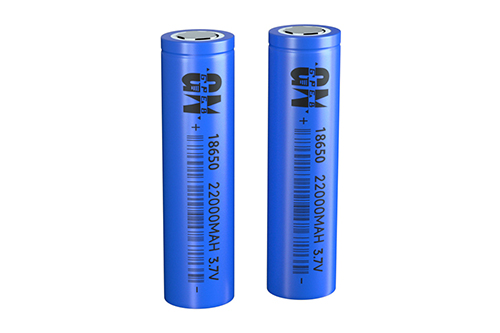
18650 battery 3.7v 1800mah management circuit design ideas
Portable power supplies such as mobile power supplies, electric vehicle
power supplies, car power supplies, etc. are composed of battery units. Due to
the inherent errors of battery products, in order to balance this error and make
the 18650 battery 3.7v 1800mah work better, BMS management design is required.
Then How to design the management circuit of the 18650 battery 3.7v 1800mah?
Overall structure of 18650 battery 3.7v 1800mah management system
The designed application entity is a portable 18650 battery 3.7v 1800mah
device used in industry, using Altera's FPGA and NIOS on it
II embedded processor, and uses a USB interface to connect to the computer,
targeting large data volume applications. This device requires 30V DC voltage,
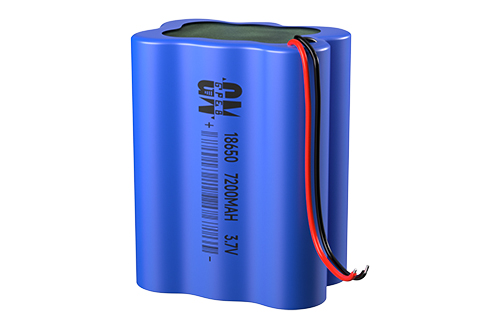
so it is planned to use a 18650 battery 3.7v 1800mah of four 1000mAh lithium
polymer batteries connected in series; in addition, for waterproof and dustproof
considerations, only a square USB interface (USBB
TypeSockr, this USB port has both data transmission and charging
functions.
The control core includes FPGA and its connected interfaces and display
circuits. It requires a low voltage of 3.3V, which is obtained directly from the
4-cell lithium 18650 battery 3.7v 1800mah by a high-efficiency DC/DC chip. This
voltage is very important, so it needs to be kept stable and continuous. Unless
the 18650 battery 3.7v 1800mah is low in power or has overcurrent protection,
this voltage is always supplied.
The actuator requires 30V DC voltage and a current of about 80mA. It uses a
boost DC/DC circuit. This circuit is controlled by the control core. It does not
work normally and is only turned on before action is required.
Charging uses an external 20V power supply and is connected through the USB
interface. The consideration for using this power supply is for high-current
high-speed charging of 1C or 0.5C. Since it shares the same port with ordinary
USB, in order to avoid entering the charging process when connecting to ordinary
USB, a voltage judgment circuit is needed for judgment.
Since it is difficult to find a suitable chip solution on the market, it
was decided to use the remaining logic resources of the FPGA to implement the
charger's control function and add a small amount of analog circuitry to assist.
This requires that the power supply to the control circuit cannot be
interrupted, the 18650 battery 3.7v 1800mah must always be online, and the
negative terminal of the battery must always be connected to GND.
1. Voltage sampling
The most important part is the design of the voltage sampling circuit,
which requires high accuracy and is less affected by temperature. The difficulty
in this design is that the battery voltage is floating with respect to GND. Many
solutions use a differential operational amplifier to convert the voltage to
ground and then input it into a dedicated ADC for AD conversion. However, this
solution caused many problems due to the introduction of a differential
operational amplifier. First of all, the voltage is relatively high and the op
amp is difficult to find; secondly, the op amp's power supply and the input
voltage use the same power supply, which requires the op amp to need a
rail-to-rail input function; thirdly, a negative power supply may be needed.
Using DC/DC introduces noise; in addition, the op amp and the use of matched
resistors reduce the accuracy.
RC charging circuit
In order to simplify the circuit as much as possible, an integral ADC is
constructed here to convert the high precision of FPGA timing into the high
precision of voltage measurement. The working process is: J1 is closed first,
releasing the charge on C1; then J1 is opened, and R1 charges C1; the voltage
comparator U1 compares the voltage on C1 with the reference voltage V2, and
outputs a high voltage when the voltage of C1 exceeds V2. flat. By counting the
time from when J1 is turned on to when U1 outputs a high level, the voltage of
V1 can be determined. It can be intuitively seen that the higher the V1, the
shorter this period of time.
Actual sampling circuit diagram
The actual circuit is shown in Figure 3. Note that this picture only shows
the measurement circuit of the first battery. Among them, R1 and C1 are the
resistors and capacitors used for integration, Q1 is a commonly used P-MOSFET,
which is used to realize the function of J1 to discharge the capacitor, and
U5
At the same time, it realizes the dual functions of voltage reference and
voltage comparator. X1 is the discharge control, coming from the FPGA, and X2 is
the switching output, going to the FPGA.
This circuit only consumes the 4uA current of MAX921 and the leakage
current of C1, Q1, and Q2 in the static state, which is basically negligible and
is very power-saving.
Another feature of this circuit is that it eliminates the commonly used
photocoupler and uses capacitor C2 instead. When in static state, the voltage at
both ends of C2 is balanced and no power is consumed. At this time, the voltage
of X2 is 0. When U5 outputs a high level, the voltage of X2 is increased because
the voltage across C2 cannot transient. The two Schottky diodes D1 and D2 play a
limiting role. Carefully adjusting the values of C2 and R4 can successfully
transmit switching information.
2. Balanced charging
Balance charging is a charging method required for all lithium 18650
battery 3.7v 1800mahs, but many low-power applications do not actually have
balanced charging, such as most laptop 18650 battery 3.7v 1800mahs. This
actually has a considerable impact on battery life.
Existing balancing technologies are mainly divided into energy transfer
balancing between batteries and external energy input balancing. Energy
balancing between batteries is to charge the energy of the high-power battery to
the low-power battery. The biggest problem with this method is that it is very
complicated to control.
Many special-purpose chips or microcontroller solutions now use external
equalization, which is achieved through controllable energy consumption. In this
method, an energy-consuming component is generally used to consume energy,
thereby waiting for other battery cells to be fully charged or reducing the
voltage of some cells. The disadvantage of this solution is that the energy
consumption on the Zener diode is too large, and the heat generated is
intolerable.
Actual charging method diagram
Of course, this is just a schematic diagram and does not include the
current detection circuit (between input to transformer) and voltage detection
circuit (transformer secondary winding). Among them, the switch array is
implemented with power MOSFET.
In this way, the tubes all work in the switching state and consume very
little energy. In addition, the battery does not have a diode in series, so the
maximum output can be obtained. The disadvantage is that the circuit is
relatively complicated. Since the voltage of each battery must be matched, the
input charging circuit is required to be isolated. The T1 transformer is used as
isolation here because the switching frequency can be made very high and the
size of the T1 transformer is small. The entire charging circuit works in a
switching state without adding any control modules. The FPGA directly controls
the field effect transistor. The outputs of the current detection and voltage
detection circuits are also converted into switching values and directly
transmitted to the FPGA.
Charging is divided into four steps:
a) Check whether any battery cells are lower than 2.5V. If so, use a 5%
duty cycle to charge the batteries lower than 2.5V in turn to boost the voltage
to 2.5V;
b) Open J1 and J8, charge the whole unit with high current, and measure the
voltage of the battery cells at the same time. If any battery cell reaches 4.2V,
go to the next step;
c) Gradually reduce the duty cycle to maintain the maximum voltage of the
single cell at 4.2V until the duty cycle is <5%;
d) Charge the batteries that have not reached 4.2V in turn. When the duty
cycle drops to 5%, the charging ends.
What needs to be noted here is that charging in turns in steps a) and d) is
implemented through a switch matrix, and charging in turns will not extend the
charging time. This is because the duty cycle at this time is far less than 25%,
and it can be used in a Charge the four batteries separately during the charging
cycle.
3. Overcurrent and low voltage protection
In order to ensure the absolute safety of the 18650 battery 3.7v 1800mah,
the over-current and low-voltage protection of the 18650 battery 3.7v 1800mah
are set independently. When a problem occurs, the output of the 18650 battery
3.7v 1800mah can be directly cut off. This type of circuit is also very
common.
Read recommendations:
551235 180mAh 3.7V
The performance of lithium batteries at different temperatures.96kwh energy storage lithium solar ba
Lithium - Ion Battery Pack Design and Manufacturing
3.2v 100ah lifepo4 battery
803040 polymer battery


 360° FACTORY VR TOUR
 Whatsapp
 Tel
Tel Email
Email TOP
TOP